News
Product Review: CQuartz Lite
Product Review: CQuartz Lite
Product Review: CQuartz Lite
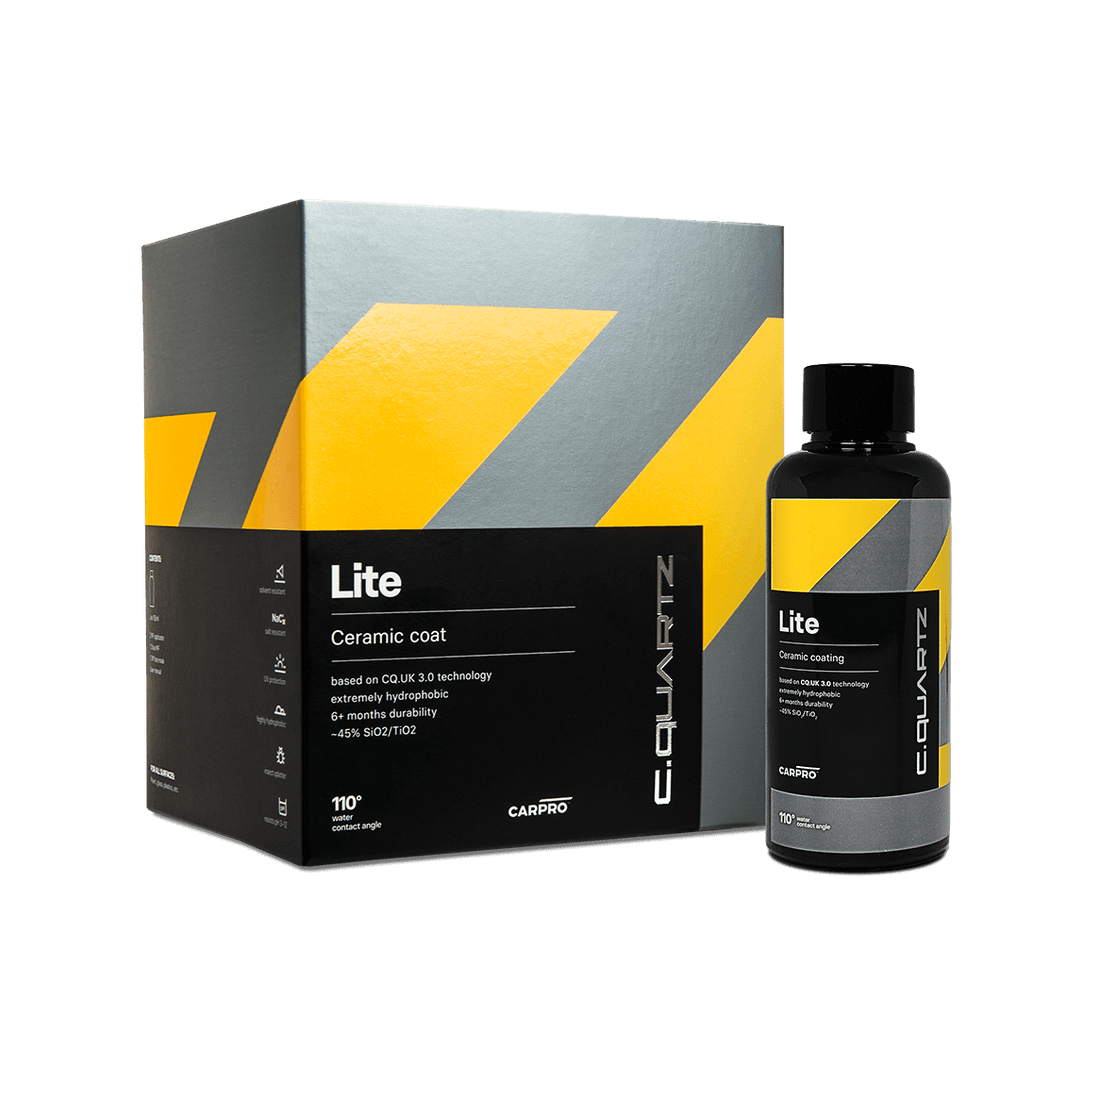
CQuartz is the ceramic coating line offered by car care company CarPro. With the success of CQuartz UK and all of the customers who love to use it, the company has ensured to continue to build upon that success. Realizing that not everybody at home is a professional or may not have the time to do what can be a tricky ceramic coating job, the company decided to help out enthusiasts again!
CQuartz Lite can be applied as a stand-alone ceramic coating lasting more than 6 months or it can be used as a topcoat for existing CQuartz coatings! It was designed for the at home detailing enthusiast who wants something stronger than a spray on coating system, sealant, or wax. CQuartz Lite bridges the gap between the less effective traditional sealant technology and full strength CQuartz Ceramic coatings that so many use.
The capabilities of CQuartz Lite include: easier to clean surfaces, resistance to insect splatter, petrol spills, light solvents, Acids, Alkali in a PH 3-12 range and harmful UV rays, whilst providing a beading contact angle of 110 degrees, similar to that found in any other professional coating! In other words, CQuartz Lite helps keep your paint super glossy, well protected, beads like crazy, and washes off easy when properly maintained!
CQuartz Lite is built on a combination of Sio2 and Tio2 particles with over 45% solid materials, as well as other proprietary ingredients. CQuartz Lite is also a great option for professional detailers as an entry level coating to the customer who is not looking to spend on the higher price tag a stronger coating can often come with.
CQuartz Lite can be use on any exterior surface of your car including paintwork, plastics, wheels and glass (except windshield). Like your other favorite CQuartz products, CQuartz Lite is also safe on matte paint.
The Prep
So of course as with any coating, the key to making it last and working well is all in the prep. We tested the product on a 2019 F150, that has about 12k miles. The Truck was given regularly maintenance and did not appear to be heavily contaminated. However, we still wanted to make sure we do a full decontamination to ensure the best results!
Our process included the following steps:
(1) Wash the vehicle with CarPro Reset, this strips away and protection that may existing from prior details.
(2) After our initial wash we decided to use CarPro Iron X to ensure removal of embedded contaminants, iron particles.
(3) We than re-wash the vehicle with Reset once more to ensure removal of all chemicals and a perfectly clean surface.
(4) We dried the vehicle and proceeded to move to the clay phase. This ensures a smooth surface and the removal of any additional embedded contaminants not removed during the chemical decontamination. A physical decontamination combined with chemical decontamination is the best way to ensure a most properly prepped surface. We used our Griot's Fine Clay Mitt combined with Gyeon Clay Lube.
(5) Our last and final step was to ensure the removal of any oil particles and remove polish residue to prepare the paintwork for Cquartz. We use CarPro Eraser for this step. In this case we did not polish the paint, but we still like to ensure it is stripped bare of any reside from the wash process and claying process. Also, this helps ensure once again the removal of any potentially left over waxes or protection if there is any.
Coating Application
What makes this coating so great is the ease of application and the multiple surfaces that it can be used on. After the vehicle is prepped, you can simply apply a few drops of the coating to an applicator and start the process. The best part is that there is no flash time! This means that you can apply the coating and immediately wipe it off. Waiting the proper amount of time for a coating to flash is often dependent upon temperature conditions. Various conditions can result in waiting to long and make removing the residue from the coating very difficult. However, with Lite, no worries, remove instantly and move on the the next panel.
We used two towels in our process, once for the initial wipe, and a second to ensure we removed all residue. Also, making sure that you wipe any surrounding edges, those near the next body panel, helps ensure no left over coating is missed.
Below you an see a picture of the coating applied to the pick up bed handle. Above it was un-coated, the shine is quite impressive.
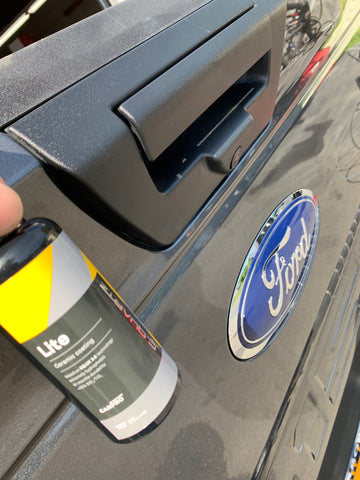
The whole process from start to finish for us was quite quick due to the lack of flash time needed. Quite honestly, we were impressed with how easy it was to remove. If desired, a second layer can be applied about an hour after the first for additional layering. We ensured we applied in a cross hatch pattern for full coverage during our first coat. Testing the ability of a single layer was ultimately the most important part of this for us, so we did not use a second layer.
Below is a picture of the truck first backed out of the garage in the sun!
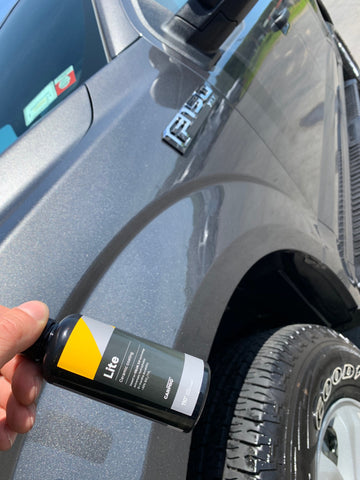
Some awesome metallic flake as you can see.
And below is the finished result. 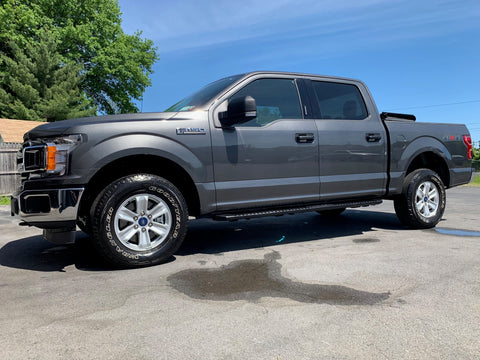
The gloss was quite impressive. The color popped, the flake was noticeable in the metallic paint, and the overall outcome was quite nice. Compared to other longer lasting coatings, this was a breeze to apply. For the novice at home or even the professional looking for a medium term solution, this was as advertised!
The best part is that the coating only needs 4 hours to cure. Many other coatings require 12-24 or even 48 hours to cure. While it is still recommended to not let the surface get wet for 48 hours, the coating is ready for action rather quickly. If there is a chance of rain around the corner after the coating is applied, it is recommended to spray down the surface with CarPro Reload 1 hour after application to apply an additional layer of protection.
